Diamond Polishing Pad Grit Sequence: A Step-by-Step Guide for Stone Fabricators
By Devgon Industries ·
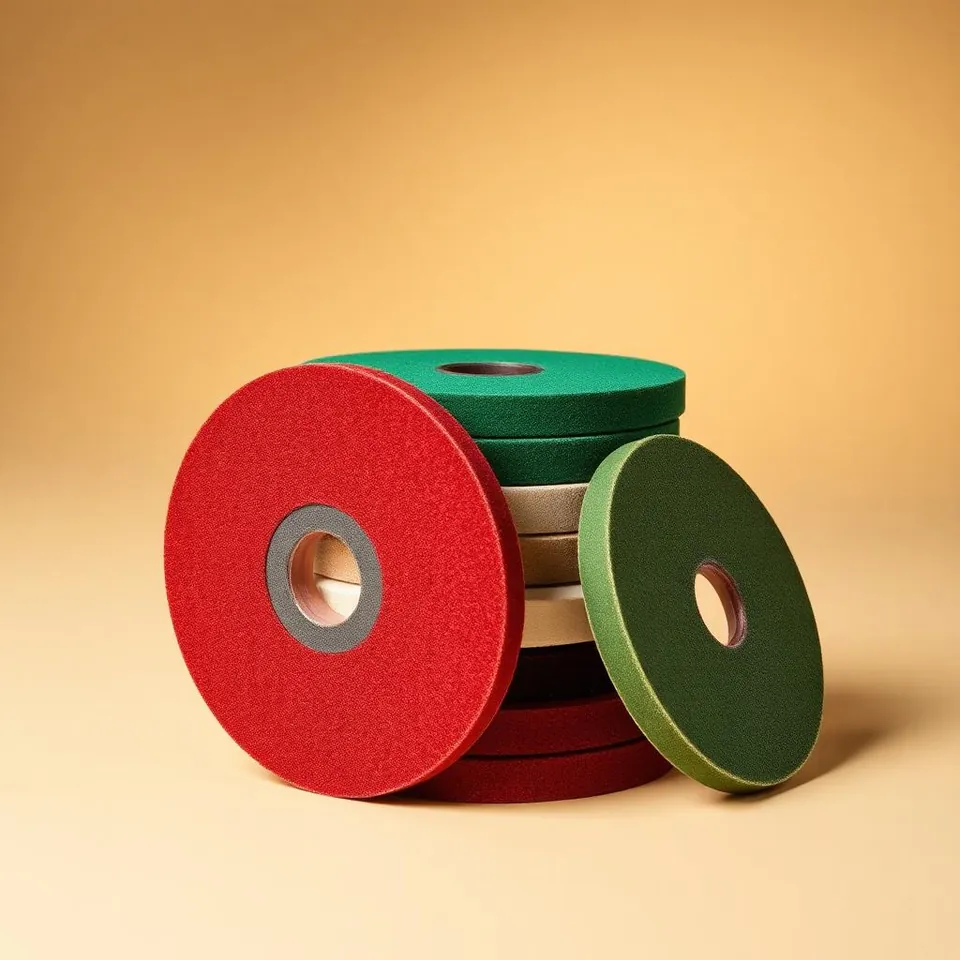
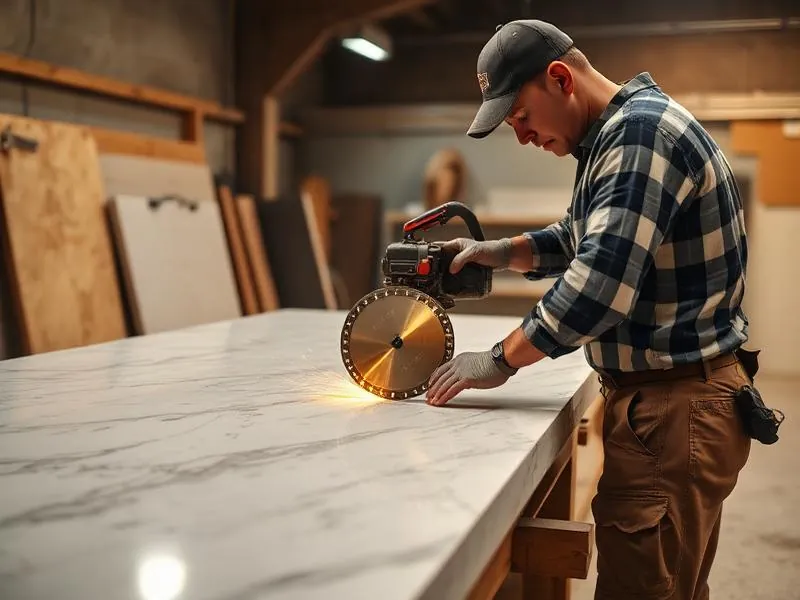
A mirror polish on a granite edge is not created by the final pad. It is built one grit at a time, with each pad removing the scratches left by the one before. When fabricators get a hazy or scratchy finish, the cause is almost always in the sequence, not the stone.
This guide explains how diamond polishing pads work, the polishing pad grit sequence used on common materials, and the habits that produce a consistent shine.
How the grit sequence works
Every diamond polishing pad leaves scratches. Coarse pads leave deep scratches and remove material quickly. Each finer pad replaces those scratches with shallower ones until they are too fine for the eye to see and the surface reflects light as a polish.
That is why skipping grits fails. A 400 grit pad cannot efficiently remove the deep scratches from a 50 grit pad, so they survive into the final finish and show up as haze or visible lines under light.
A standard polishing pad grit sequence for granite edges
| Grit | Stage | Purpose |
|---|---|---|
| 50 | Shaping | Removes saw marks and shapes the edge profile |
| 100 | Shaping | Removes 50 grit scratches and refines the shape |
| 200 | Honing | Smooths the surface and removes remaining coarse scratches |
| 400 | Honing | Produces an even honed surface |
| 800 | Pre-polish | Surface begins to reflect light |
| 1500 | Polish | Builds clarity and depth |
| 3000 | Final polish | High gloss finish |
| Buff | Finish | Brings up final gloss on many stones |
If the edge is already shaped by router tooling or a CNC, many fabricators start at 100 or 200 instead of 50. Start at the coarsest grit needed to remove the deepest marks, then follow every step from there.
How the sequence changes by material
Granite
Granite generally follows the full sequence above. Dark, dense granites tend to show a deeper gloss, while some coarse-grained or lighter granites reach their best finish earlier.
Marble and limestone
These softer stones scratch easily and respond quickly to each grit. Use lighter pressure and less time per step. Many fabricators finish marble with a polishing powder or compound after the higher grit pads to reach full gloss.
Engineered quartz
Quartz edges are polished to match the factory surface. The resin in quartz is sensitive to heat, so use plenty of water, moderate speed and light pressure. Overheating can discolour or dull the edge.
Concrete
Concrete polishing usually starts with metal bond grinding tools to open and flatten the surface, then moves to resin bond polishing pads through progressively finer grits. A densifier is commonly applied part way through the process. Concrete systems vary, so follow the tooling and densifier manufacturer's recommended steps. See our grinding cups for the grinding stage.
Wet or dry polishing pads?
Wet pads are the standard in fabrication shops. Water cools the pad, flushes away slurry and helps produce a cleaner finish with longer pad life. Use a wet polisher with proper electrical protection, such as a GFCI, or an air-powered polisher.
Dry pads are made for installed countertops and jobsite touch-ups where water is impractical. They run hotter, so use lighter pressure and keep the pad moving.
Backer pads and speed
- Rigid backer pads keep flat surfaces flat and are preferred for faces and straight edges.
- Flexible backer pads follow curves, bullnose profiles and inside radius corners.
- Use a variable speed polisher. Running polishing pads on a standard fixed-speed angle grinder makes them harder to control and easier to overheat. Stay within the pad manufacturer's maximum RPM.
Habits that produce a consistent shine
- Never skip a grit. It always costs more time than it saves.
- Clean between grits. Rinse the stone and the backer pad so coarse grit does not contaminate a finer step.
- Check under raking light. Before moving up, shine a light across the surface at a low angle. If scratches from the previous grit remain, keep working.
- Keep the pad moving and flat. Tilting the pad digs in and creates uneven spots.
- Replace worn pads. A worn final pad will not polish no matter how long you run it.
Troubleshooting common polishing problems
| Problem | Likely cause | Fix |
|---|---|---|
| Hazy or dull finish | Skipped grit or worn final pad | Go back one or two grits and work up again |
| Swirl marks | Contamination from a coarser grit | Clean the stone and pads, then repeat the step |
| Visible lines at the edge | Shaping scratches not fully removed | Return to the shaping grit and work up properly |
| Discoloured quartz edge | Heat from pressure, speed or low water | Increase water and reduce pressure and speed |
Silica safety
Polishing stone, quartz and concrete creates fine silica dust and slurry. Wet polishing, cleaning up slurry before it dries, and proper respiratory protection protect your team. Follow your provincial occupational health and safety requirements.
Frequently asked questions
Can I skip grits to save time?
Skipping one step on very soft stone is sometimes possible, but on granite and quartz it usually leaves scratches that show in the final polish. Following every step is faster overall because you avoid rework.
Why is my granite still hazy after 3000 grit?
Most likely scratches from an earlier grit were not fully removed, or the final pad is worn. Go back a step or two, check under raking light, and work up again.
Can I use stone polishing pads on concrete?
They will work, but concrete systems usually perform best with tooling made for concrete, starting with metal bond grinding and moving to resin pads designed for concrete.
How long do diamond polishing pads last?
Pad life depends on the material, pressure, speed and water. Coarse pads wear fastest because they do the most work. Using every grit in sequence reduces the load on each pad and extends life across the set.
Get the right polishing pads
Browse our diamond polishing pads and grinding tools, checking each listing’s materials and applications. Need help building a pad set for your shop? Request a quote.