How to Polish Granite Countertop Edges, Step by Step
By Devgon Industries ·
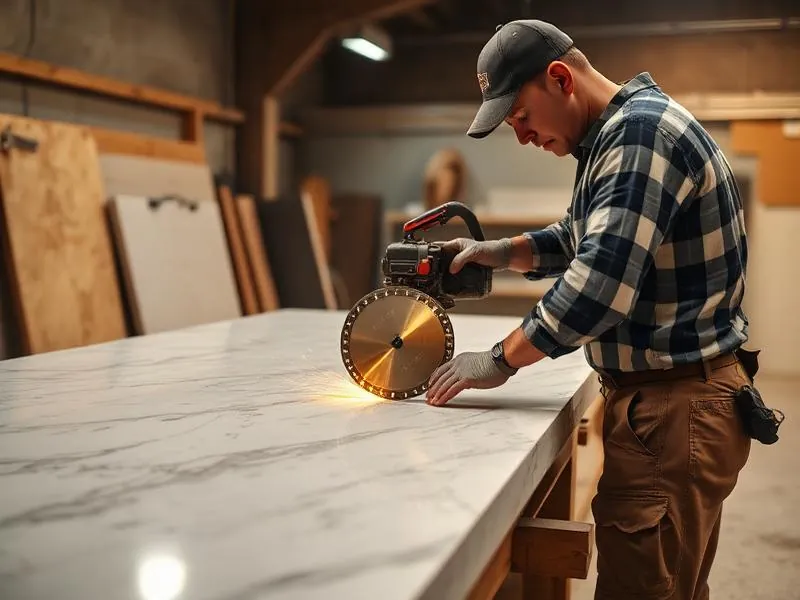
Polishing a granite edge by hand is one of the core skills in any countertop shop. Done well, the edge reflects light evenly along its full length and matches the polished surface. Done poorly, it shows waves, haze and scratches that every customer notices.
This guide shows how to polish granite edges by hand, from setup to final inspection. For the detailed grit-by-grit sequence, see our polishing pad grit sequence guide.
Tools and setup
- Variable speed wet polisher protected by a GFCI, or an air-powered polisher. A standard angle grinder is not designed for water or polishing speeds.
- Backer pads: a rigid backer for flat edges and a flexible backer for curves and bullnose profiles.
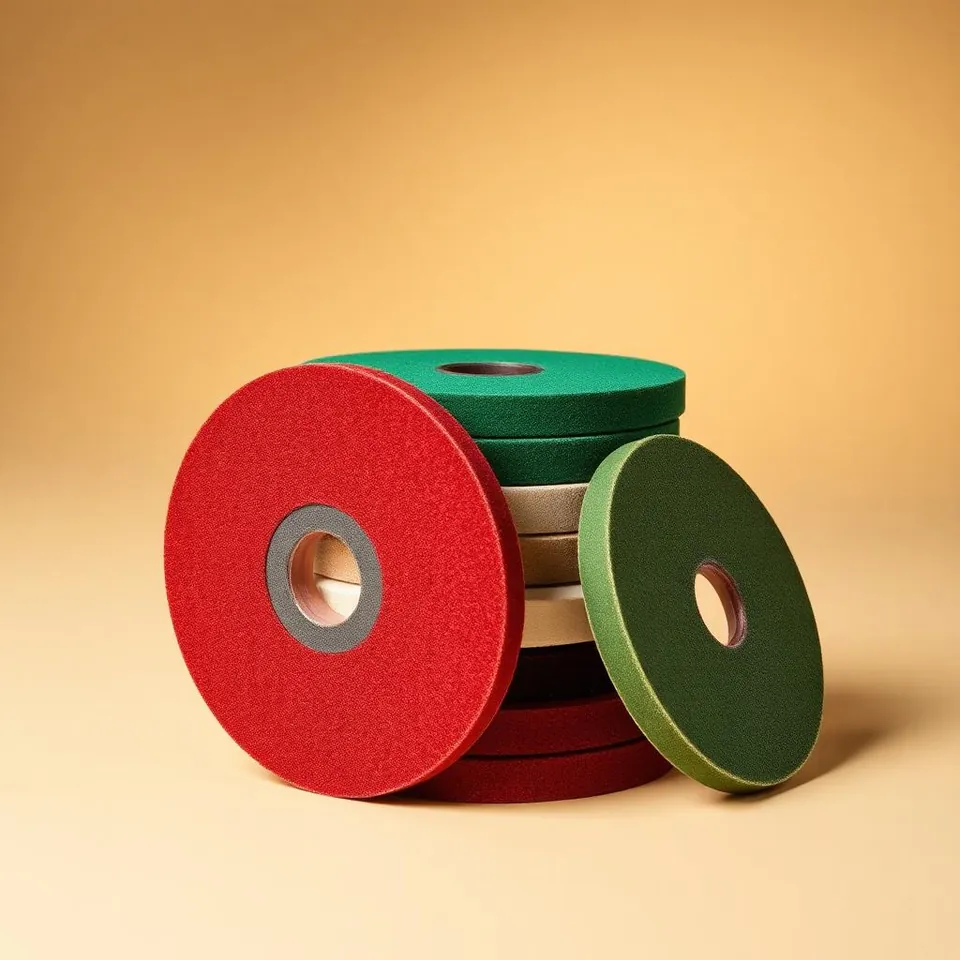
- Diamond polishing pads in a full grit set, from coarse shaping grits to final polish and buff.
- Router bits or profile wheels if you are shaping a bullnose, ogee or bevel.
- Water supply, a stable support for the slab and clamps.
- A work light you can hold at a low angle to inspect scratches.
- Protective equipment: eye and hearing protection, gloves and respiratory protection.
Step 1: Support the piece
Clamp or support the slab so the edge overhangs slightly and does not move or vibrate. Any movement shows up as waves in the edge.
Step 2: Square and straighten the edge
Saw-cut edges carry blade marks and small variations. Use a coarse pad or a calibrating tool to remove saw marks and bring the edge straight and square to the face. Check it with a straightedge along the length. Every problem left at this stage carries through to the final polish.
Step 3: Shape the profile
Eased edge
An eased edge is a square edge with the top and bottom corners slightly softened. Hold the pad at a consistent angle to each corner and make even passes along the full length so the small radius stays uniform.
Bullnose, ogee and bevel
Shape these with a router bit or profile wheel matched to the slab thickness. Use smooth, continuous passes and let the tool do the work. Confirm the profiling tool’s material rating, slab-thickness requirements and machine compatibility before use.
Step 4: Work through the grits
Start at the coarsest grit needed to remove the shaping marks, then move through every grit to the final polish.
- Keep the pad flat on the edge. Tilting it rounds over the face edge and creates an uneven surface.
- Keep moving. Make long, steady passes along the full length of the edge, overlapping each pass. Staying in one spot creates dips.
- Use steady, light to moderate pressure and let the pad work.
- Keep water flowing to cool the pad and flush slurry.
- Rinse the stone and backer pad between grits so coarse grit does not contaminate the next step.
- Check under raking light before moving up. If scratches from the previous grit remain, keep working.
Step 5: Corners, curves and inside radii
Switch to a flexible backer pad for radius corners and bullnose profiles so the pad follows the shape. For tight inside corners, use smaller pads or hand pads to reach areas the polisher cannot. Blend corners into the straight edges so the polish looks continuous.
Step 6: Final polish and inspection
Finish with the final polishing grit and buff pad. Dry the edge completely and inspect it under a low-angle light along the full length. The reflection should be even, with no haze, swirl marks or visible scratch lines. Compare it with the polished surface of the slab.
Step 7: Clean and seal if needed
Clean off all slurry before it dries. Depending on the granite, a penetrating stone sealer may be recommended. Test absorbency and follow the sealer manufacturer's instructions.
How to polish granite edges on installed countertops
For touch-ups and repairs on installed countertops, use dry polishing pads with a dust control shroud and suitable vacuum. Protect cabinets, floors and nearby surfaces, keep the pad moving and use lighter pressure, since dry pads run hotter.
Common mistakes
| Mistake | Result | Fix |
|---|---|---|
| Tilting the pad | Rounded or uneven face edge | Keep the pad flat and use a rigid backer |
| Staying in one spot | Waves and dips | Use long, overlapping passes |
| Skipping grits | Haze and visible scratches | Go back and work up every grit |
| Too much heat | Discolouration on resin-treated granite | Use more water, less pressure and moderate speed |
| Rushing the squaring step | Wavy edge that never polishes evenly | Straighten and square before shaping |
Frequently asked questions
Can I polish granite edges with an angle grinder?
It is not recommended. Polishing works best with a variable speed polisher designed for wet use. Standard angle grinders run too fast for polishing and are not designed for water.
How long does it take to polish a granite edge?
It depends on the profile, the granite and the condition of the edge. Squaring the edge well at the start and following every grit is the fastest route to a good result.
Why does my edge look wavy after polishing?
Usually from staying in one spot, uneven pressure or an edge that was not straight before polishing. Return to a coarser grit, straighten the edge and use long, overlapping passes.
Do all granites polish to the same shine?
No. Dense, dark granites often reach a deeper gloss. Some coarse-grained or lighter granites reach their best finish earlier in the sequence.
Get the right edge tools
Browse our diamond polishing pads and grinding tools, or read our granite vs quartz vs marble guide. Request a quote.